Here's a comprehensive breakdown of the tutorial on animating a gradient overlay on text in After Effects, complete with some added tips for enhancing the effect:
Devin Page here, and today we're diving deep into a captivating gradient animation for your text. By the end of this guide, you'll know how to bring those static gradients to life!
1. Setting Up the Composition:
-
Start Fresh: Begin by creating a new composition. Ensure the time and other settings are accurate for your project.
Pro Tip: Set a comfortable frame rate to make the animation smoother. 24fps or 30fps works great for most projects.
2. Create a Solid for the Gradient:
-
Solid Creation: Generate a new solid. The color isn’t crucial at this stage as you’ll be adding an effect to it.
-
Applying Fill Effect: Head to the 'effects' panel. If it’s not visible, navigate through 'windows' to locate it. Search and apply the 'fill' effect to your solid.
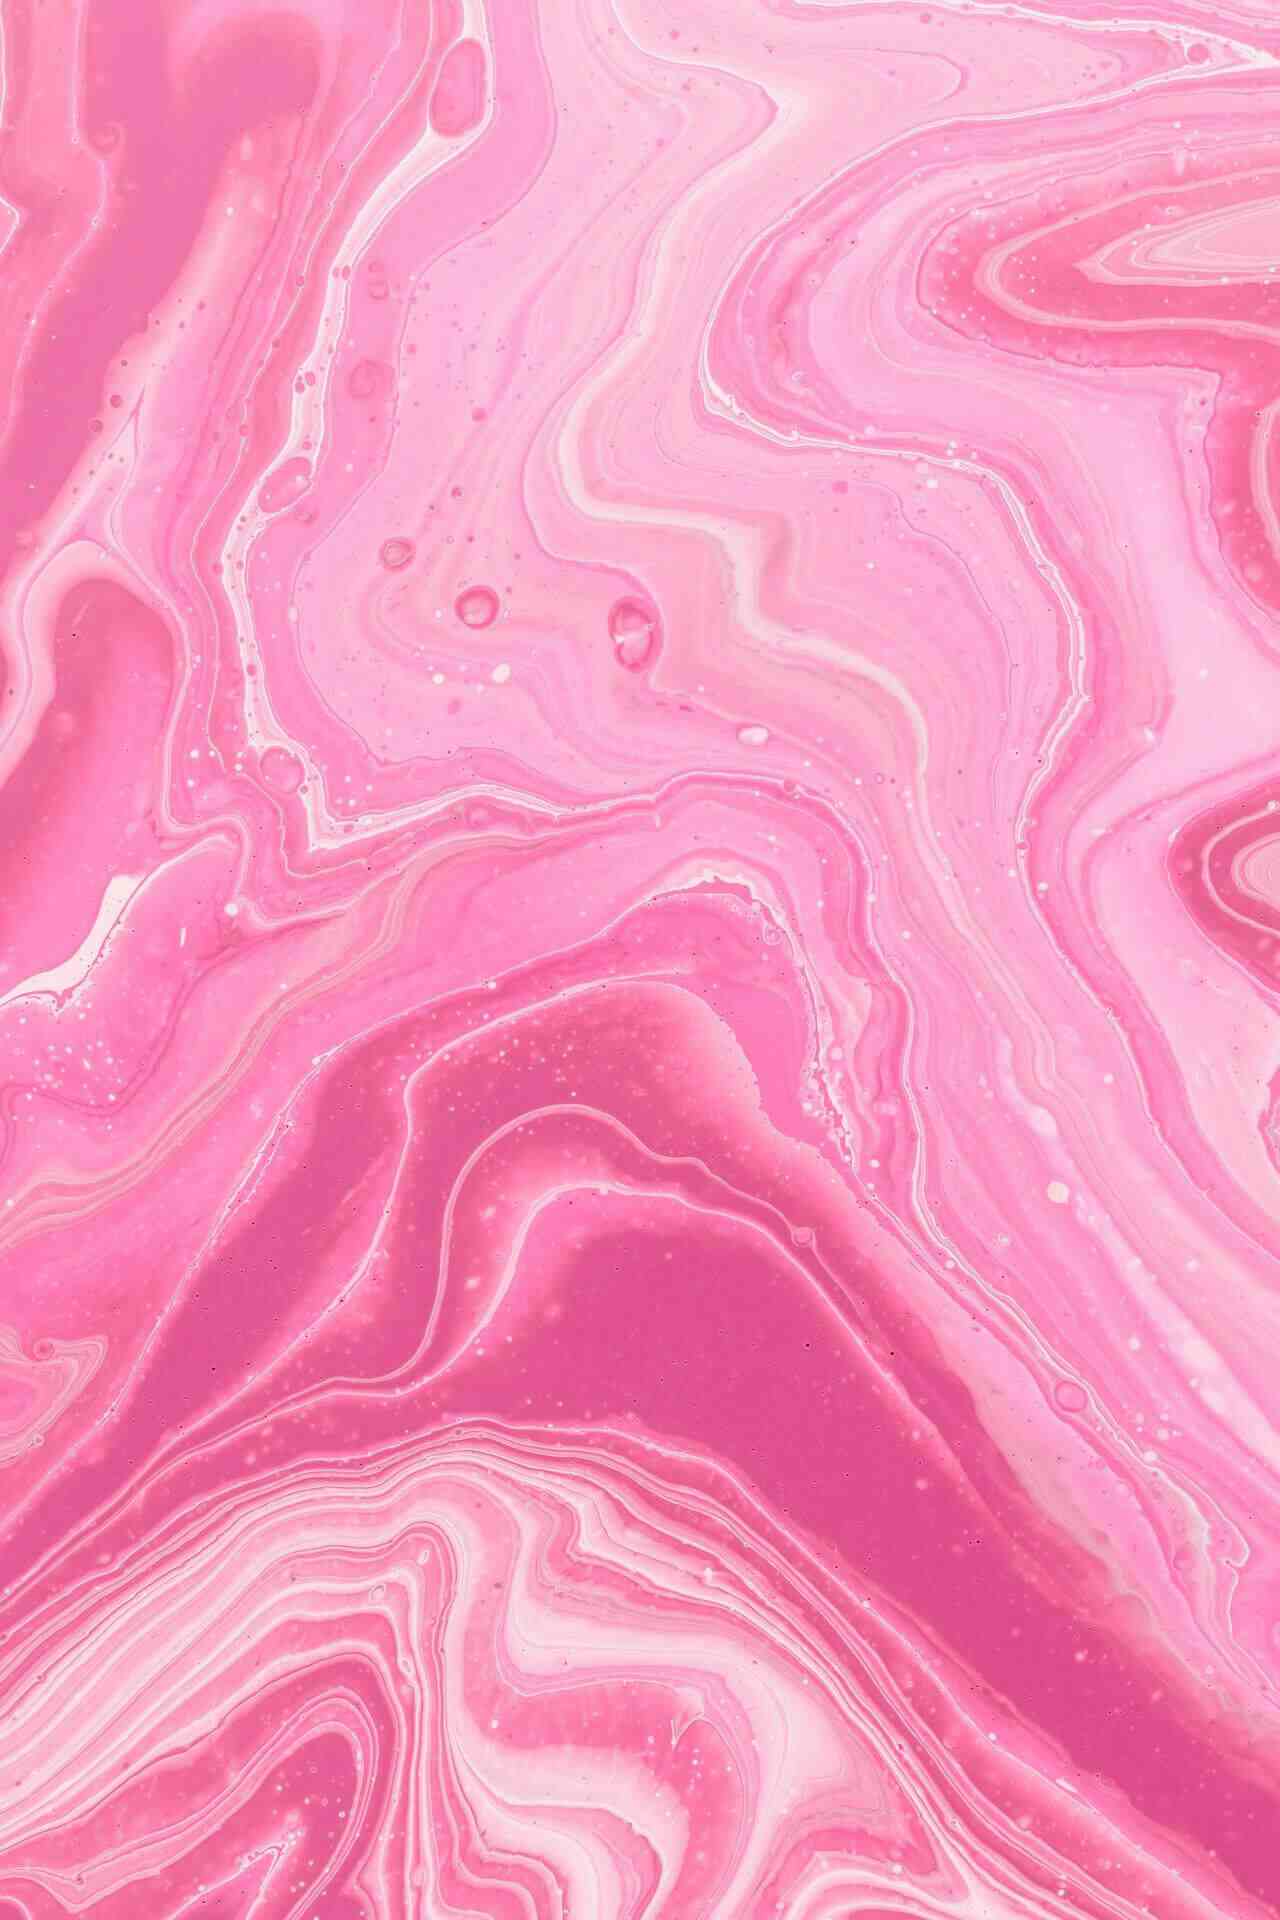
Pro Tip: Use contrasting colors for your gradient, as they can enhance the visual appeal.
3. Crafting Your Gradient:
- Masking: With the 'fill' effect selected, utilize the pen tool to create a desired shape. It auto-masks the region, allowing only that shape to be visible.
- Softening Edges: Press 'F' to access the 'feather' option. Adjust the value (e.g., 300) to blur the mask's edges, giving a smooth transition.
4. Breathe Life into the Gradient:
- Turbulent Displace: Search for the turbulent displace effect and apply it. Now, while holding 'alt', click on 'evolution'. A script field appears.
This effect simulates the appearance of turbulence in your footage by displacing the pixels in the image. Essentially, it's manipulating the position of pixels randomly within a defined area, governed by the size and amount of the effect.
-
Amount: Controls the magnitude of the displacement.
-
Size: Dictates how big or small the turbulent 'waves' or 'bubbles' are.
-
Evolution: Adjusts the phase of the turbulence, and animating this value is what causes the appearance of movement.
-
Scripting Movement: In the script area, type "times 400". Adjusting the number changes the animation's speed.
Pro Tip: Experiment with different values to find an animation speed that complements your project.
Accessing the Scripting Area:
When you want to apply an expression, or a little piece of code, to a parameter in After Effects, you need to access the scripting area for that parameter. Here's how:
- Select the layer you applied the effect to.
- In the Effect Controls panel, locate the specific parameter you want to add an expression to (in this tutorial, it's the 'evolution' parameter under Turbulent Displace).
- Hold down the 'Alt' key (or 'Option' key on Mac) and click the stopwatch icon next to the parameter. This action opens up the scripting area below it.
- Type in your desired expression, in this case, "times 400" which multiplies the current time by 400, making the evolution value change as time progresses.
5. Enhance and Layer:
-
Duplication: To stack gradients, duplicate the gradient layer. Adjust its position and modify the fill color to introduce variation.
-
Layer Colors: Change the colors of your layers in the timeline to distinguish them more easily.
Pro Tip: Limit color choices to those that blend harmoniously. Too many conflicting hues can create visual chaos.
6. Pre-Composing:
- Once you’re satisfied, select all gradient layers, right-click, and choose 'pre-compose'. Naming this composition will help with organization.
7. Add Your Text:
- Input: Add the text you want to overlay the gradient on.
- Accessing Modes: If you can't view the blending modes and matte options, right-click the top bar of your timeline panel, navigate to 'columns', and select 'modes'.
- Alpha Matte: In the modes column, for your text layer, choose 'alpha matte' pointing to your gradient composition.
Alpha Matte: Alpha mattes in After Effects allow one layer's visibility to be controlled by another layer. When Layer A (your gradient) is set as an alpha matte for Layer B (your text), the visibility of Layer B will be defined by the alpha (transparency) values of Layer A.
8. Playback:
Once done, render the animation and play it back to admire the animated gradient overlay on your text!
Remember, the key is in the details. Fine-tuning parameters, playing with colors, and adjusting the animation speed can all contribute to that perfect gradient animation. Happy animating!
View the result here: